How Custom Metal Signs Are Made: From Sketch to Steel
Five steps stand between a rough idea and a sign that hangs straight for twenty years. Here's the whole build, in order, with the details most shops skip over.
By The BarnSigns Workshop ·
A custom metal sign is made in five steps: the design is drawn as a cuttable vector, laser-cut from a single sheet of steel, cleaned and de-burred by hand, powder-coated for weather, then checked and fitted with mounting hardware. The whole build takes about one to three weeks in our Michigan workshop.
That's the answer if you just wanted the answer. The rest of this post walks each step with the detail that actually decides whether a sign looks sharp on year one and year twenty — because most of the quality is invisible by the time it's on your wall.
Step 1 — The drawing decides everything
Every sign starts as a vector drawing, and this is where good signs are won or lost. Steel has rules: strokes can't get too thin or they'll flex, inner pieces (the middle of an O, the counter of an A) need bridges or they fall out, and the whole shape has to hold its own weight. We draw every piece in-house — whether it comes from our catalog, your sketch, or a Studio design — and adjust letterforms until they're both beautiful and cuttable.
Step 2 — Cutting one sheet of steel
The drawing goes to the laser, and the sign is cut from a single sheet. Single-sheet construction matters more than it sounds: there are no welded joints to crack, no layered pieces to trap water, and the sign hangs as one rigid, balanced plane. The laser follows the vector to a fraction of a millimeter, which is why crisp letterforms survive from screen to steel.
Step 3 — Cleanup nobody sees
Fresh off the laser, a sign has sharp edges, dross on the back of cuts, and oxide on the faces. Every piece gets hand-cleaned: edges eased, cut faces de-burred, surfaces prepped bare. Skip this step and even the best coating fails early — powder can't grip a dirty edge, and rust always starts where the prep was lazy.
Step 4 — Powder coat, not paint
The cleaned sign is electrostatically coated with powder, then baked so the finish cures into a continuous shell around every edge and inner cut. Compared to spray paint, powder coat is thicker, bonded, UV-stable, and doesn't chip off in sheets — it's the single biggest reason a sign survives outdoors. We covered long-term upkeep in Caring for Outdoor Metal Signs, but the honest summary is: with a good powder coat, there's very little to do.
Step 5 — Checks, balance, and hardware
Last, the sign is inspected against the original drawing — lettering, dimensions, finish — and fitted with its mounting method: keyhole slots or standoffs for flat pieces, a balanced single hanging point for kinetic wind-spinner signs so they move freely in a breeze. Nothing leaves the workshop without being looked at twice.
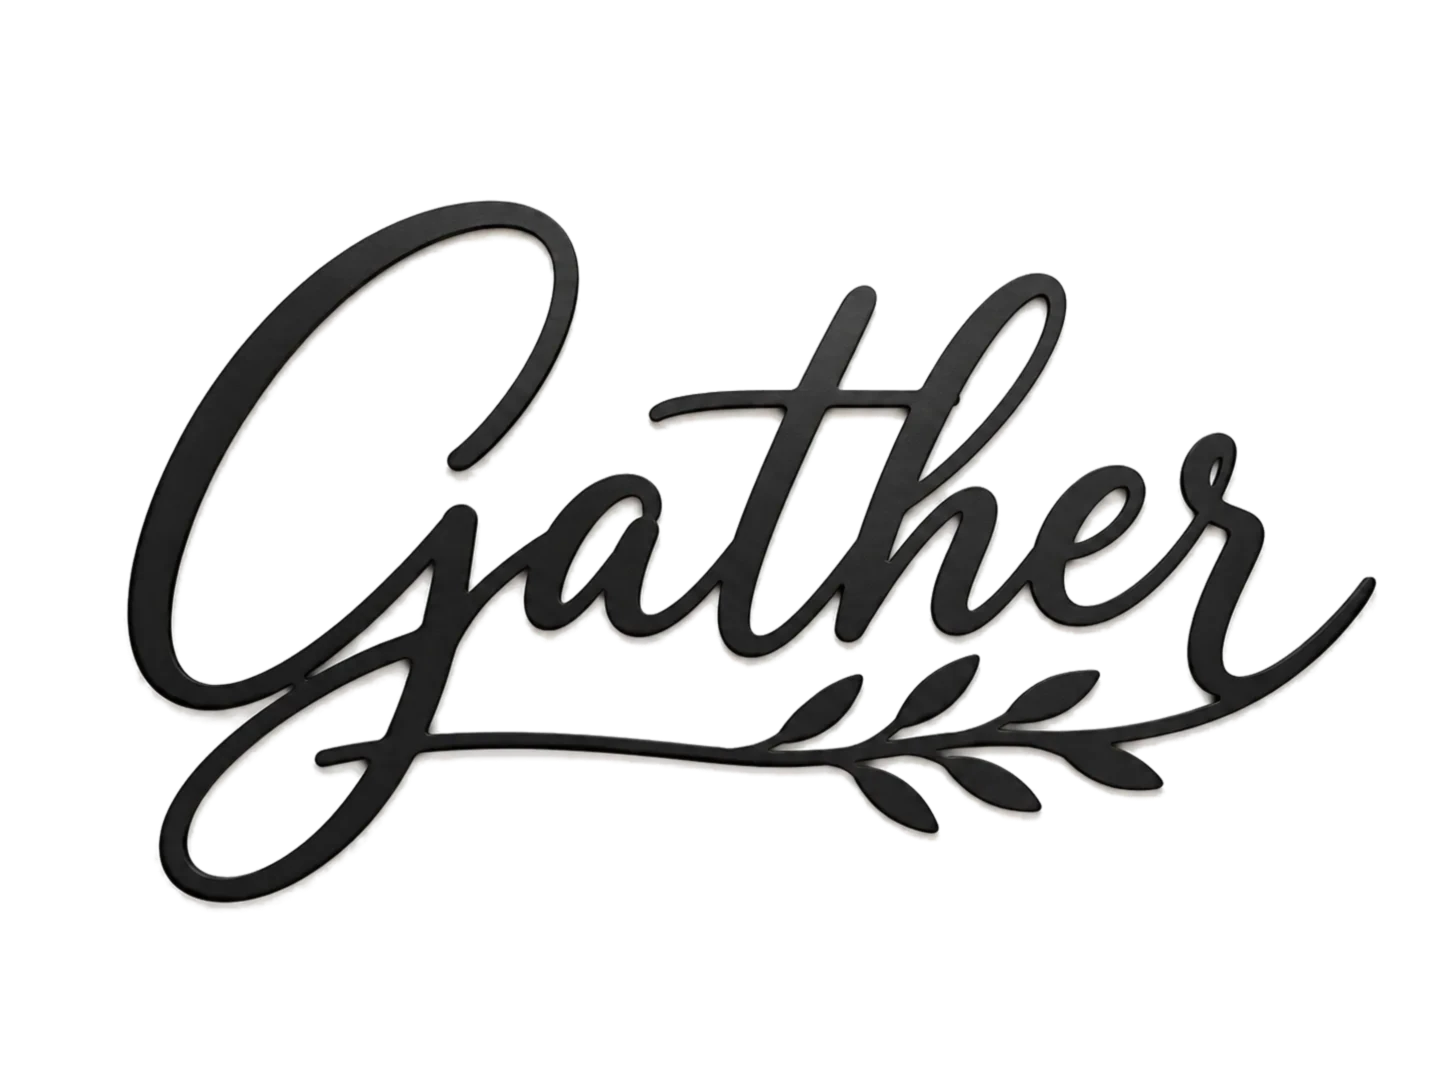
How long the whole build takes
Because every sign is cut to order in our Michigan workshop, production runs about 1–3 weeks depending on the queue and the complexity of the piece, then 3–7 business days in transit within the continental US. Custom Studio designs add a proof step — we confirm the drawing with you before steel gets cut.
Frequently asked
In five steps: the design is drawn as a cuttable vector, laser-cut from a single sheet of steel, hand-cleaned and de-burred, powder-coated and baked for weather resistance, then inspected and fitted with mounting hardware. At BarnSigns the whole build happens in one Michigan workshop.
Pieces from this story

Keep reading